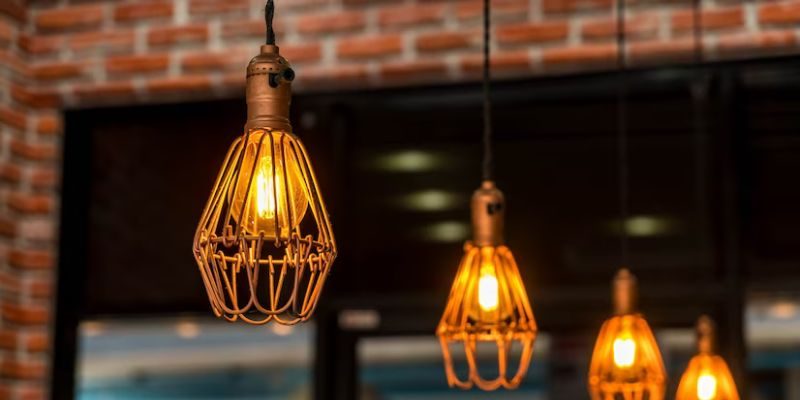
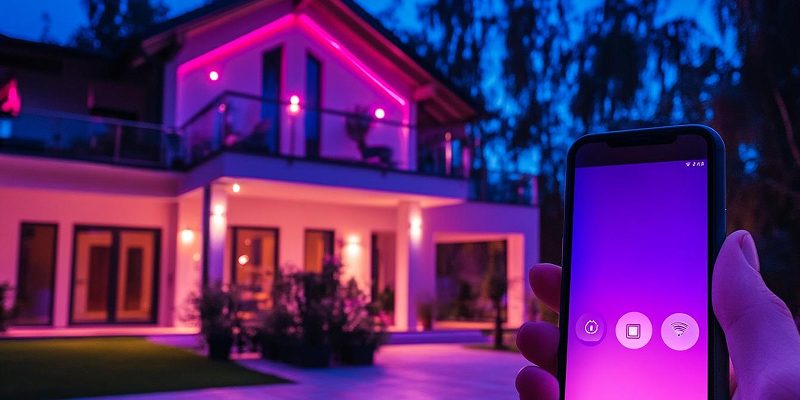
Wondering how to replace an outdoor light fixture? Here is a DIY guide that you can follow to change your outdoor light fixture and keep your home exteriors safe and secure. Even if you have never done any electrical job at home, this easy-to-follow guide can help you replace your light fixture in not more than 30 minutes.
When to Replace Your Outdoor Light Fixture?
If you have recently shifted to a new house or are planning to renovate your home exteriors, you may consider replacing your outdoor light fixture. Also, it is a good idea to upgrade your outdoor light fixture if it is broken or if you want to upgrade security around your house.
How Much Does It Cost to Replace Your Outdoor Light Fixture?
Light fixtures come in a wide range of prices, so how much your light fixture will cost will depend on the type of light fixture you choose. The price can start from around $20 which can rise to hundreds of dollars if you go for designer fixtures. However, don’t worry about the price too much because you can elevate your exterior appeal and look with a good fixture. Click here to learn more about how much it costs to install outdoor lighting.
Besides, you can also consider installing security light fixtures which will be a plus point for your outdoor light fixture. These security features can be flood lighting, motion detection, and multi-directional lighting. You can find numerous affordable light fixtures with security features in the market. So, select the one that caters to your needs and start with the DIY.
Tools Required to Replace Your Outdoor Light Fixture
Gather up everything you will need to replace your outdoor light fixture. Here are the tools that you will need.
- A screwdriver
- A new light fixture
- A wire stripper
- Pillers
- A voltage tester
- Safe ladder
DIY Steps to Replace an Outdoor Light Fixture
Before you begin any DIY project, like replacing an outdoor light fixture, make sure to gather all the required tools and materials first. Clear the area where you will be working so that nothing comes your way while working.
Now, if you are wondering how to replace an outdoor light fixture and have bought a new light fixture, follow the steps underneath.
Step 1: Prepare the Area for Electrical Safety
Your safety should be the first thing you should be concerned about while working with electrical items. Electrical work can be challenging and dangerous, even if you follow a detailed guide. So, if you are confident enough, it is better to call an electrician.
Before you start your work, turn the power off from your circuit breaker box. If the switch for exteriors is labeled, then switch it off or switch off the power supply to the entire house. Also, since you will be changing an outdoor light fixture, do it during the daytime and on a day when there is no rain or snow. Plus, don’t be alone at home while replacing the light fixture.
Step 2: Remove the Old Light Fixture
After you have disconnected the power supply, use a screwdriver to remove the holding screws of your existing outdoor fixture and gently unmount the old light fixture from the wall. You may find some screws hard to find as they get hidden due to decorative covers or pieces of trims.
Step 3: Disconnect Old Wires
Before you touch the wiring cables, use a voltage tester to ensure that no electricity is running through the live wiring cables. Generally, there is a connection piece called a wire nut, and you need to unscrew it to disconnect the wires. Once you have disconnected the wire, you can remove the old light fixture completely from the wall.
Step 4: Install Mounting Bracket
Now, you have to use the mounting kit that came with the light fixture you bought. You can find a mounting hardware to which you have to attach the new light. If the fixture has a bar or bracket, you don’t have to move the mount.
However, if you need to replace the old mount and add a new one, you can line up the screws and bolts with the earlier fasteners. You can drill new holes if the previous holes don’t line up to secure the new fixture. Make sure to use the right drill bit for the holes. Also, remember that you might have to repair the area with putty and paint to get a neat and clean look after the installation process.
Step 5: Connect New Wiring
Next, you have to connect the new wiring. Most light fixtures come with an instruction manual with detailed diagrams to make it easier to understand the different purposes of differently colored wires. Just align the wires for your fixtures as per the instructions while matching the colors. Add wire nuts to the new wiring and join it with the wires from your house within the fixture. Click here to find a step-by-step guide to add new wires.
Step 6: Install the New Light Fixture
Once you connect the wiring, you have to attach the fixture to the mount and enclose the unit with the mounting screws. Make sure to attach the fixture properly using screws as they are very few.
Once it is secured, you can turn the power on and check if it is working. In the case of a motion light, you can test its sensor by covering it with your hand. If the light or the sensor doesn’t work, you may need to contact an electrician this time. Fixing the issues after wiring can be complicated.
The Final Takeaway
Learning how to replace an outdoor light fixture is a simple task. Just stick to the above steps to bring a fresh and stylish look to your home exteriors. The right lighting can really make a difference and help you get the most out of your exteriors.

Hi, I’m Lillian Blanchard, a home solutions expert and writer with a passion for transforming everyday spaces into functional, beautiful havens. With years of experience in interior design, DIY projects, and sustainable living, I specialize in crafting practical advice that makes home improvement accessible to everyone.


